
20 Cute Nail Designs To Try
Looking to elevate your manicure game without the salon trip? Check out these 20 stunning press-on nail designs! From bold statement sets to chic minimal styles, these easy-to-apply nails are perfect for switching up your look in minutes. Whether you’re into glossy glam, trendy patterns, or soft neutrals, there’s a design here for every mood and occasion. Get ready to press, slay, and repeat!
2/10/20254 min read

Looking for a quick, stylish way to upgrade your look? Press-ons have become a go-to beauty solution for busy lifestyles. These trendy alternatives offer salon-quality results without the time or cost of a professional manicure.
From classic French tips to eye-catching metallics, there’s a design for every taste. Whether you prefer subtle elegance or bold statements, press-ons deliver flawless finishes in minutes. Many sets are reusable, making them a budget-friendly choice.
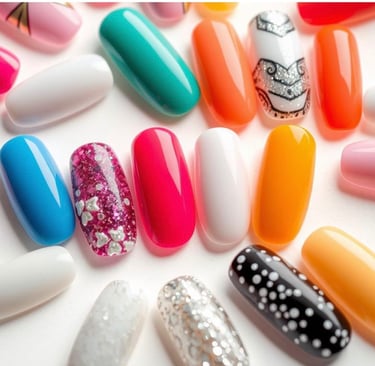
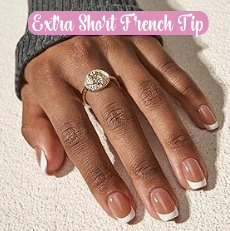
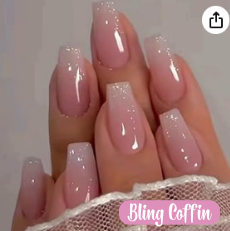
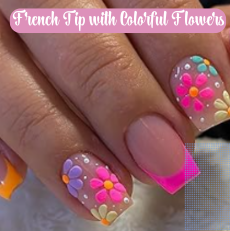
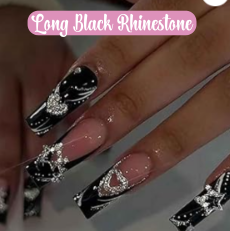
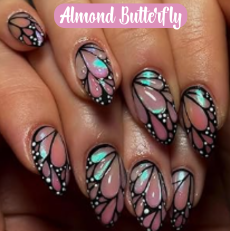
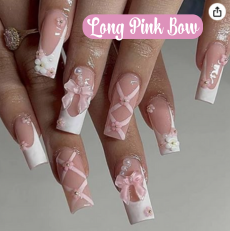
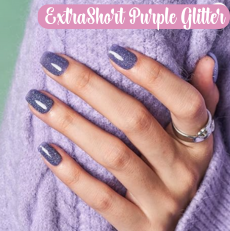
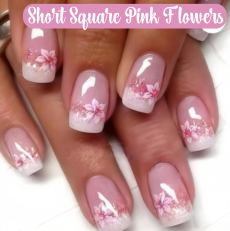
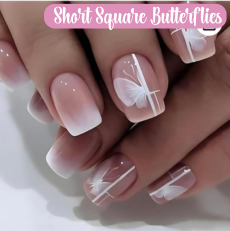
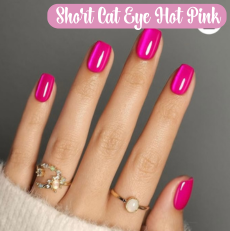
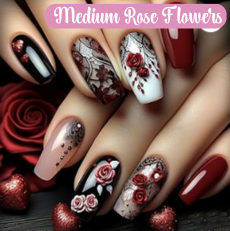
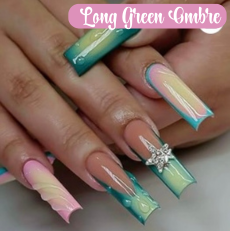
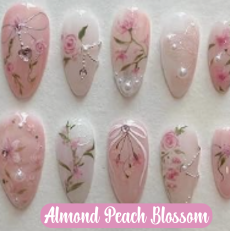
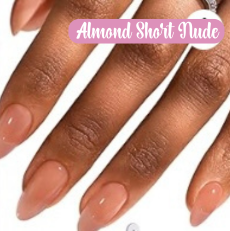
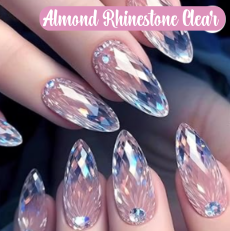
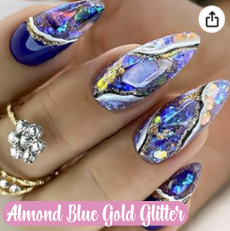
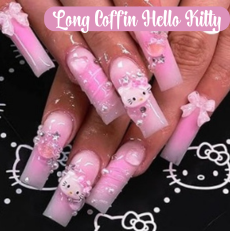
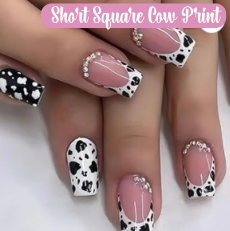
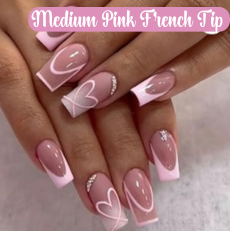
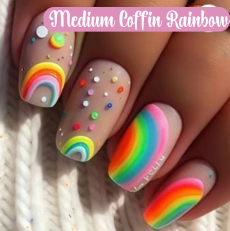
Ready to explore the possibilities? Here are 20 stunning designs to inspire your next manicure:
(Click on image to get to product to purchase)


Step-by-Step Press-On Nail Application
Master the art of flawless manicures with this simple guide. Celebrity manicurist Julie Kandalec’s method ensures a seamless, long-lasting finish. Follow these steps for salon-worthy results at home.
Step 1: Prep Your Nails
Start with clean, dry nails. Buff lightly to remove shine and wipe with alcohol. This creates a textured surface for better adhesion. Push back cuticles gently to avoid lifting.
Step 2: Size Before Gluing
Match each piece to your natural nail bed. File edges if needed for a perfect fit. Avoid overlapping the cuticle or sides—this prevents peeling.
Step 3: Apply Glue Strategically
Use a cyanoacrylate-based formula for the strongest hold. Place a tiny dot near the cuticle and tip. For precision, try brush-on glue instead of drip bottles.
Step 4: Press at 45 Degrees
Angle the piece slightly to avoid bubbles. Hold for 30 seconds—this ensures the glue bonds fully. Repeat for all nails, working one hand at a time.
Step 5: Clean Edges
Dip a small brush in acetone to remove excess glue. Wipe gently around the edges for a polished look. Avoid pulling or scraping to prevent damage.
Step 6: Final Touches
Seal the deal with a clear topcoat. This adds shine and extends wear. For extra durability, avoid water for the first hour after application.
With this easy apply process, your manicure will stay put for days. Whether you’re a beginner or a pro, these tips guarantee a flawless finish every time.
Removing Press-Ons Without Damage
Removing your manicure shouldn’t mean sacrificing nail health. Whether you used glue or adhesive tabs, gentle techniques preserve your natural nails for future styles.
Acetone Soak Method
For glued designs, acetone dissolves bonds without force. Soak cotton balls in acetone, place them on each nail, and wrap with foil for 10 minutes.
Gently rock the piece side-to-side to loosen. Avoid scraping—this prevents damage. Follow with cuticle oil to replenish moisture.
Adhesive Tab Removal
Pre-glued sets lift off easily. Warm water or cuticle oil softens tabs in 60 seconds. Peel slowly from the sides to keep nails intact.
Clean tabs for reuse: Wipe with alcohol to remove residue.
Avoid acetone: It can break down the sticky layer.
Conclusion
From budget buys to luxury looks, there’s something for everyone. Don’t shy away from experimenting. Try coffin shapes for edgy nights out or rounded neutrals for the office. Whether you’re a beginner or a pro, these designs fit all skill levels.
Ready to refresh your look? These designs make it easy to enjoy flawless press on nails anytime.
Lifted Bloom
Explore tips for beauty and self-care.
Contact me
contact@liftedbloom.com
(301) 818-2772
© 2025. All rights reserved.